
I would like to tell you today about one UiPath feature that is not well known yet. This is a pity since it is super powerful and super useful! Those who had some experience with Blue Prism Object Repository - this is basically UiPath adaptation of this concept. The idea behind it is quite simple.
Object repository allows you to store selectors to defined elements for an application. You can then save them as a library and re-use them in other processes. In case there is a change in the application structure (some selectors change), you can easily update the descriptors library once and update the dependencies in all your projects.
This brings massive improvement for change management and in the reusability of “code”.


How to enable Object Repository?
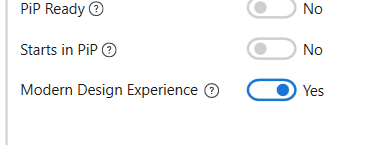
In your Project pane, click the  Project Settings button. In General tab enable Modern Design Experience. On prompt choose Reload.

Where is Object Repository?
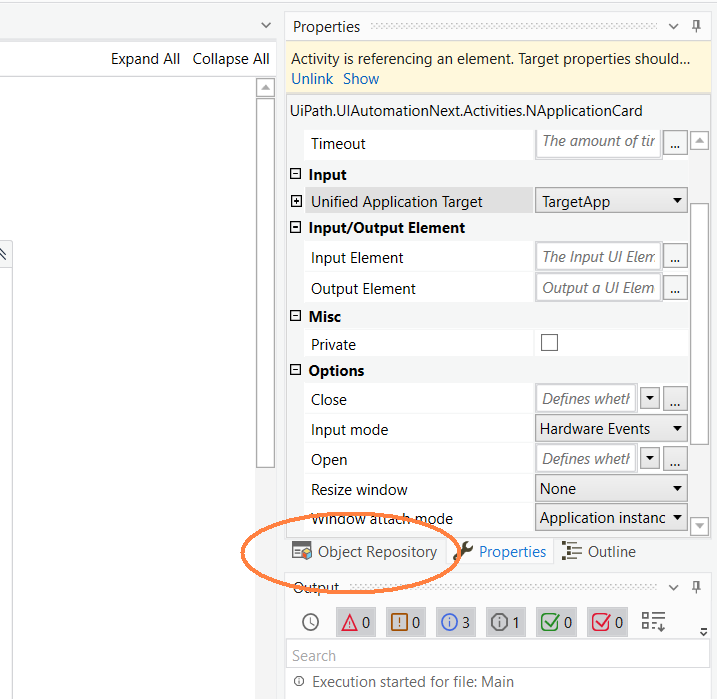
It is hiding next to Properties pane  See:
See:
Create the structure
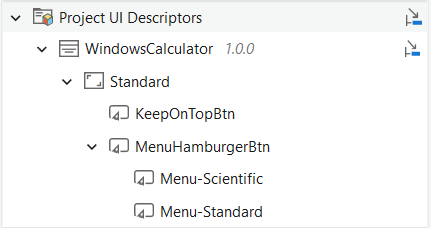
For each application you want to achieve such structure as shown on image:
-
Application: WindowsCalculator
-
Screen : Standard
- Element : KeepOnTopBtn
-
Element : MenuHamburgerBtn
- Sub-Element : Menu-Scientific
- Sub-Element : Menu-Standard
-
Screen : Standard
This is an example structure for Windows Calculator.
As you can see, the main structure is: Application - Screen - Element (+sub-elements). The ability to create sub-elements is only for convenience but it does not affect the behavior of the elements.
Create Application
- In Descriptors pane, click
 .
. - Give your application name, description and click Create application
Add Screen
Each application can have multiple Screens. The name is pretty self-describing.
- Click again (whilst the newly created Application is selected in the Descriptors pane)
- In new dialog, name the screen.
- Click Indicate Screen and indicate screen

- You can adjust the screen selector - click Edit Application Descriptor if you want.
- Confirm by Create Screen button.
Add Element
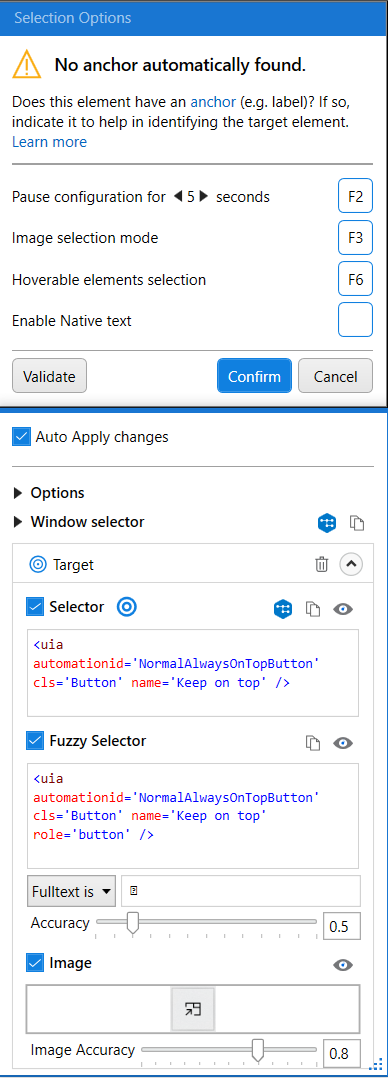 |
1. Again, click  (whilst the newly Screen is selected in the Descriptors) (whilst the newly Screen is selected in the Descriptors)2. Name your element. Add description. 3. Choose element type (eg. Button, Checkbox, Input…) 4. Indicate Element. This is where a lot of magic happens.Once you indicate the element, many new windows will popup. Right there you can indicate Anchor, if your selector is unreliable or anchor-depending. This wizard extracts for you Selector, Fuzzy Selector and also Image selector. You can adjust all of them. Isn’t it awesome?  I won’t go really deep into it here, play and explore! I won’t go really deep into it here, play and explore! |
Use it!
Drag and drop Screen from Descriptors to your workflow. It will automatically create Use Application/Browser activity for you 
Now you can use your elements inside this scope. Just also drag & drop them! Once you do it, UiPath will give you option to choose what activity you want to use this element on. For example Click activity. Then it will look like this:
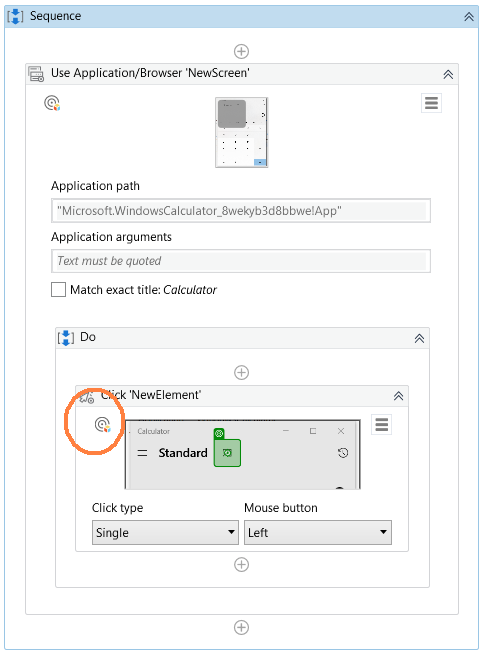
If you click on the icon (circled), it will select a related element from the Descriptors pane. So you can easily access it.
Check this topic about how to take benefits from Modern Experience activities:
[UiPath] Modern Design Experience - Click - Verify Execution feature
Export the Application Descriptors
Note: if you start creating the Object Repository with New → Library (not New → Process), you can skip this step. You already have a Library Project
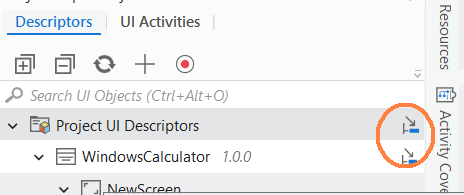
Click on the Extract as UI Library Project icon.
You will be prompted to create a new UI Library. Name it, choose where you want to save it and click Create.
Another prompt will ask if you want to open the newly created project. Choose Yes. You are ready to…
Publish the UI Library Project
Click Publish and choose publish destination. You can publish it to Orchestrator or locally.
If you publish locally you will receive .nupkg file that you can send, transfer, use in other projects, upload to Orchestrator etc.
If you want to publish to Orchestrator you have to make sure your Orchestrator is setup like this:
Go to Tenant > Settings > Deployment and in Libraries part set up:
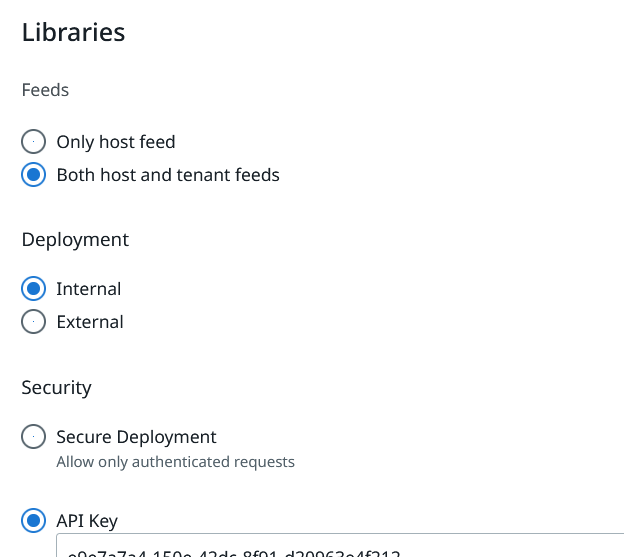
This should allow you to smoothly publish from Studio to Orchestrator.
Any user with Studio connected to this Orchestrator can now use this Descriptors Package similar to installing Activities package like this:
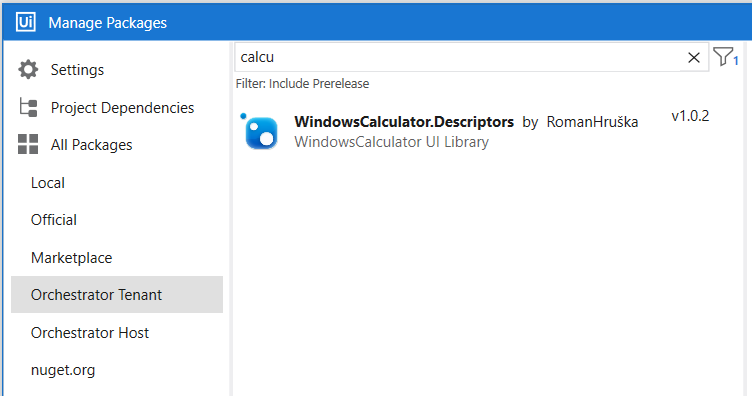
Any time you update this package, developers can update it from your Orchestrator.
Example
Example package from this article:
WindowsCalculator.Descriptors.1.0.1.zip (227.8 KB)
Watch video webinar about Object Repository

